.png)
Raspberry Pi - Getting Started (& ready for hardware hacking)
So, it was all plain sailing getting the Pi up and running with NOOBS following the instructions there, and quickly got it all setup with wifi connectivity and ssh access (which is essential for me, as I don't have a HDMI monitor other than my TV in the living room - so until I could get ssh access from my normal workstation it meant having to take over the living room to configure the Pi on the TV, which my wife was not best pleased about! Also a much cheaper option than buying a new HDMI monitor just for the Pi).I had been looking around for how to get started with some hardware hacking with the Pi, and must admit the last time I did anything vaguely electronics was when I was in school at 14yrs old (actually I did a robotics module in uni, but that was still mostly programming stuff rather than actual chips/resistors/wires etc). Some of blogs were writing about how great/essential the Adafruit Pi Cobbler was, and again, I had to go and google and read up exactly what a breakout "cobbler" would be useful for etc but decided that enough people were going for it to invest
(So yeah, that's the Amazon affiliates link - it means I get some money from amazon if you buy this thing from here - it doesn't cost you anything, but is nice for me, so by all means click & buy!)
That lead me on to looking more extensivley at the adafruit site, which has some nice tutorials and all recommend using the Occidentalis OS if you are planning some hardware hacking.

Setting up Occidentalis OS
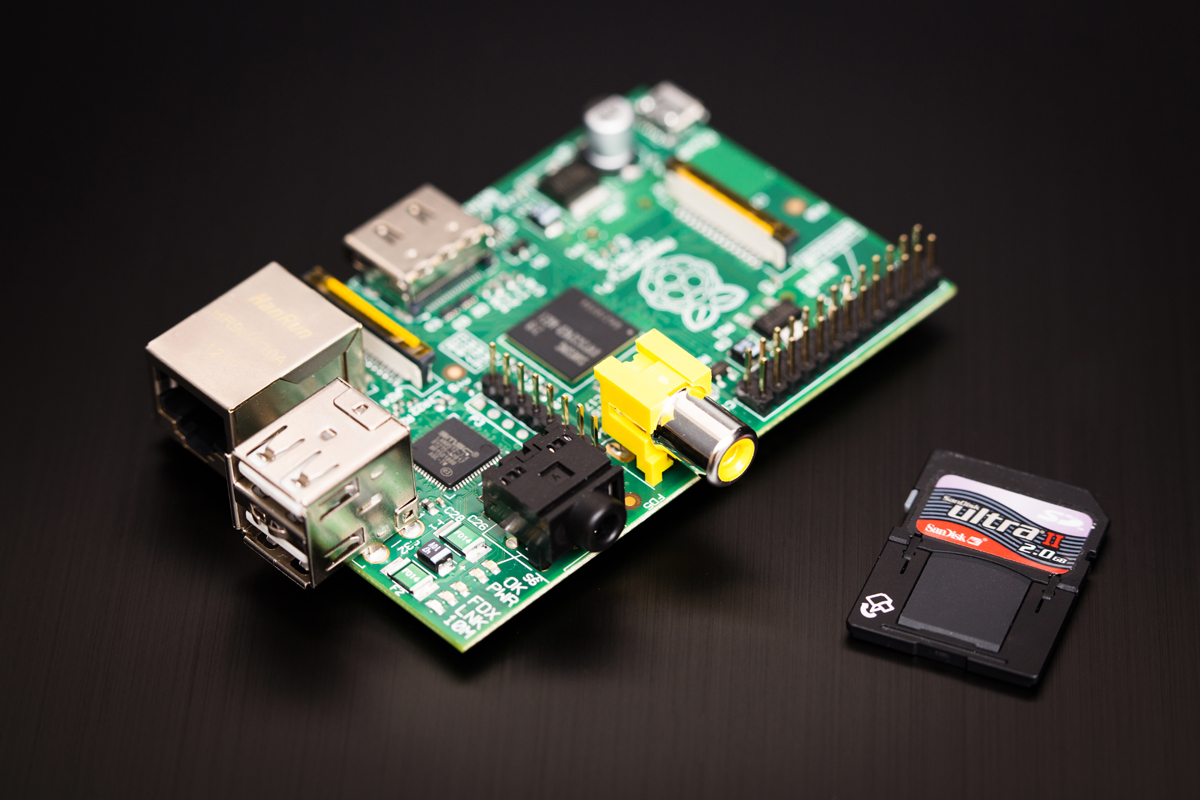
Occidentalis doesn't come in as nice a package as NOOBS - You basically need to get the image, flash it to an SD card, then boot up your Pi. I'm on Windows 7 setting up the SD card, so here are the steps/software I used:- SD Formatter (from the SD association - this is one of the standard tools recommended in normal Pi setup tutorials and is a pretty convenient way to format SD cards) - https://www.sdcard.org/downloads/formatter_4/
- Fedora ARM installer - This can be used to install OS images on to an SD card - you can't just copy & paste downloaded images on to an SD card and this just makes it pretty easy - https://fedoraproject.org/wiki/Fedora_ARM_Installer
- Occidentalis distro image - This is Adafruit's mod of the Raspian Wheezy OS and is modified specifically with hardware hacking in mind - The latest version is currently at v0.2 - http://learn.adafruit.com/adafruit-raspberry-pi-educational-linux-distro/occidentalis-v0-dot-2
Getting the Occidentalis image and flashing it to an SD card is pretty straight forward if you have the above software - the steps are as follows:
- Format an SD card - it really needs to be 4gb - I am using an 8gb samsung card that is working fine (disclaimer: as with any formatting or writing images to drives - make sure you are targeting the correct drive for your appropriate SD card - as all data will be wiped!)
- Assuming you have downloaded the Occidentalis image from the above link, extract the zip file locally
- Right-click and select "Run as administrator" on the Fedora ARM installer executable. For the source option, select "Browse" and navigate to the .img file you have just extracted from the zip. For the destination triple-check that you have your SD card drive selected (again, this drive will be wiped and all data overwritten when you hit the install button). Then press install. This will correctly setup the SD card with the OS image.
- Jam your newly setup SD card in your Raspberry Pi and startup as usual. For most of the boiler plate setup, this will work just like Wheezy/NOOBS setup.
Uh.. Wait.. My Pi isn't Booting..
So yeah. This happened to me. I setup the SD card and jammed it into my Pi and nada. The red power light flickered on, but no signs of activity and no output on the HDMI. I did some research, and it turns out that there is a problem with some OS booting if they are using the Hyinx/Samsung RAM chip on the newer models of the Pi. However, my Pi used neither of those RAM chips, mine was fitted with the Micron RAM chip, but still suffered the same problem.
Thankfully with a little tinkering, the same solution generally seemed to resolve this problem for me. If you are experiencing this problem, here is what fixed it for me:
- Download and flash and standard OS distrubution to the SD card - I just grabbed the standard Wheezy distro from the Pi download site and flashed that to my SD card as per above instructions
- Once on the SD card, I backed up the files written (only ~35mb) locally
- I then installed the Occidentalis image to my SD card (the image that wasn't booting previously, again using the steps above)
- I then copied the bootloader files from Wheezy backup on to my SD card - this was just overwriting the bootcode.bin and start.elf files from my SD card with those I had backed up from the standard Wheezy distro.
- Jam the SD card in and power up..
So.. I'm off. I will now get the normal wifi stuff setup, plus set up the ssh keys for my github account so I can stick all my code on there (I'm not relying on some flaky SD card for my code backups), the next Pi post will likely be about the Cobbler and basic stuff connecting the Pi to a bread board and a few LEDs, maybe a motor or two.. but the first step for that is soldering my Adafruit Cobbler.
Yep. I'm gonna have to use my hands..
Yep. I'm gonna have to use my hands..


0 comments: